
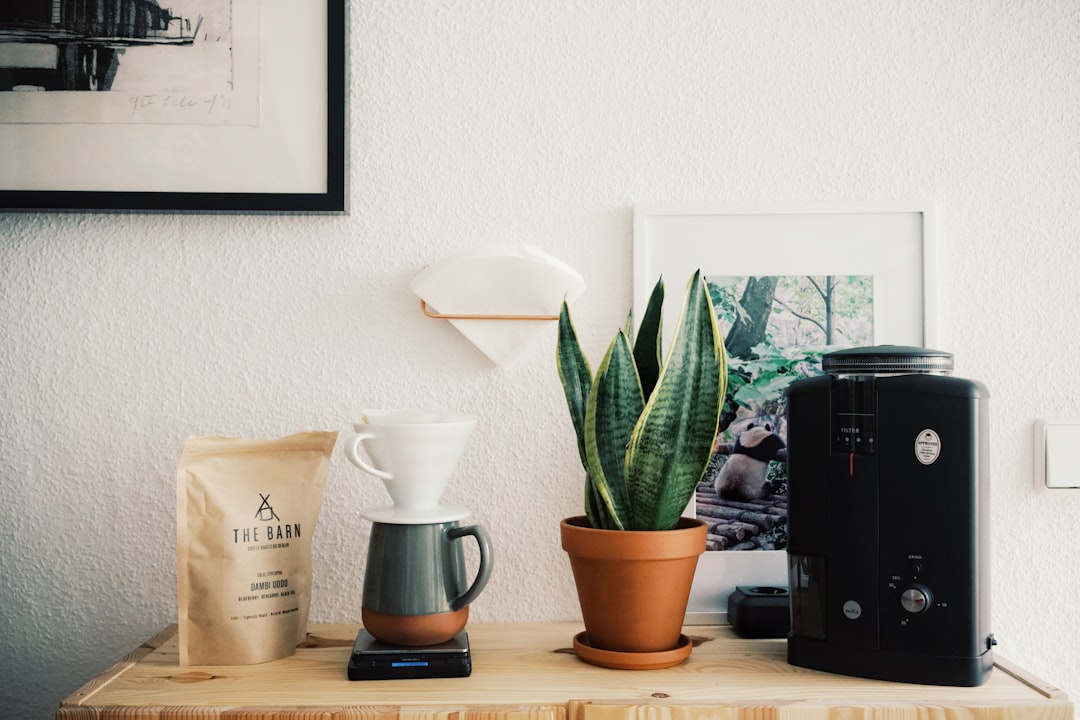
Intro
Creating a barista-style setup at home doesn’t require a professional lease or a huge budget — it requires the right choices and a simple workflow. With a few targeted tools and consistent technique, you can pull shots, steam milk, and plate drinks like a café.
This guide walks through the equipment, layout, and daily habits that turn a kitchen counter into a reliable home barista station. Each step focuses on practical choices you can make now and products to consider as upgrades.
1. Plan your counter space and workflow
Start by mapping a linear workflow: beans and grinder on one end, brewer and scale in the middle, milk and steaming tools nearby, and a cleaning zone close to the sink. Keep frequently used items within arm’s reach and dedicate a drawer or caddy for small tools (tamper, thermometer, cleaning brush).
Good layout reduces missteps and speeds up routines, which is essential when you’re dialing in shots or steaming multiple drinks.
2. Choose the right espresso machine
Pick a machine that matches your priorities: space, budget, and how hands-on you want to be. Entry-level machines automate dosing and pressure while prosumer models offer PID temperature control and commercial-style steam wands. Research machines with reliable pressure and accessible maintenance.
Browse a range of options to find the right balance between performance and practicality: espresso machines.
3. Weighing, dosing and consistency
Accurate weighing is the single most effective habit for consistent espresso and pour-over brewing. Use a scale with 0.1 g precision for espresso and a timer for extraction control.
Consider a dependable scale designed for coffee to standardize dose and yield: Greater Goods Coffee Scale with Timer. Start by recording dose, yield and time for each shot and adjust grind or dose in small steps.
4. Milk steaming essentials: pitchers and technique
Milk texture is shaped by pitcher shape, steaming technique and milk temperature. Use a stainless steel pitcher with a defined spout to control pour and microfoam. Heat milk to 55–65°C (130–150°F) and stretch only until you get velvety microfoam — avoid large bubbles.
Pick a steaming pitcher sized to the drinks you make: a 12 oz pitcher is versatile for single-to-double lattes while larger pitchers suit milk-based multiples. Shop options and sizes here: Milk Steaming Pitchers.
5. Frothing alternatives for quick lattes
If you don’t have a steam wand, a battery-powered or countertop frother can create acceptable microfoam for lattes and matcha. Handheld frothers are inexpensive and portable; electric frothers offer multiple temperature and froth settings if you prefer hands-off convenience.
For an affordable handheld option that performs well for home lattes, consider the Circle Joy rechargeable handheld milk frother. It’s useful for quick single-serve drinks and travel.
6. Practicing latte art and finishing tools
Latte art is built on consistent shots and silky milk. Start with basic shapes — a heart and a rosette — and practice pour speed and pitcher angle. Use a thin-nosed pitcher for better control and a dedicated art tool for etching details.
A small kit for home practice makes learning faster: Latte Art Tools Set (3PCS) is designed for beginners and helps refine micro-etching and detail work.
7. Bean storage and freshness
Fresh beans are the foundation of a barista-style cup. Store whole beans in an airtight container in a cool, dark place and grind just before brewing. Avoid refrigeration for daily beans — condensation on removal accelerates staling.
An airtight canister with a sealed lid keeps beans fresher longer and makes your setup look tidy: OGGI Stainless Steel Coffee Canister is a practical choice for home use.
8. Cleaning, maintenance and longevity
Regular cleaning preserves flavor and extends equipment life. Backflush espresso machines weekly if applicable and descale according to the manufacturer’s schedule. Clean grind residue from portafilters and group heads daily.
Use compatible cleaner tablets to keep internal parts free of oils and scale: ACTIVE Espresso Machine Cleaning Tablets simplify routine maintenance and reduce off-flavors.
Extras: presentation, filters and accessories
Serve drinks in the right vessel and keep filtration and tamping tools clean. A quality mug retains heat and enhances perception; stainless or ceramic choices depend on drink type. Keep spare paper filters and tampers accessible for quicker workflow.
Invest in a selection of serving mugs to match drink styles: Mugs & Servers help you present consistently and protect crema and temperature.
Quick checklist
- Map counter space with a clear workflow.
- Select an espresso machine that fits your budget and goals.
- Use a precision scale and record dose/time/yield.
- Choose a suitable steaming pitcher and practice milk temperature/texturing.
- Keep beans airtight and grind just before brewing.
- Perform daily cleaning and scheduled descaling/backflushing.
- Practice pours for latte art and refine presentation with good mugs.
FAQ
-
Do I need a pro machine to make good espresso?
No. Many home machines produce excellent espresso if you control grind, dose, and extraction. Prosumer features help consistency but good technique goes a long way.
-
How important is a scale?
Very. A scale transforms guesswork into repeatable results. Measure dose and yield to reliably improve shots.
-
Can I get latte-quality foam without a steam wand?
Yes—handheld and electric frothers can produce usable microfoam for home lattes, though a steam wand typically offers finer texture for advanced latte art.
-
How often should I descale or backflush?
Descale frequency depends on water hardness and usage. Backflush weekly for machines that support it, and descale every 1–3 months or per manufacturer guidance.
-
What’s the fastest way to improve milk texture?
Focus on pitcher depth, wand position just below the surface for initial stretch, then submerge to create body. Practice and consistent temperature control are key.
Conclusion
Building a barista-style setup at home is about deliberate tool choices and disciplined practice. Start with a stable machine, a precise scale, a good pitcher, and a simple cleaning routine. Add targeted accessories as your skills grow, and keep your layout optimized for flow. With that approach you’ll get better cups faster and enjoy a consistent café experience at home.
Products Featured in This Article

Greater Goods Coffee Scale with Tim…
Product description The video showcases the product in use.The video guides you through product setup.The video…

Oggi Stainless Steel Coffee Caniste…
On the kitchen counter, in the cupboard or pantry; wherever you need a coffee container for…

CIRCLE JOY Rechargeable 2-Speed Han…
Product description POWERFUL 2-SPEED PERFORMANCE FOR PERFECT FOAM – Choose between low speed for light frothy…

Latte Art Tools Set (3PCS), Coffee …
Product description Master Latte Art at Home with SANTOW Tools 3 Professional Tools, Endless Possibilities Draw…

ACTIVE Espresso Machine Cleaning Ta…
Product description The video showcases the product in use.The video guides you through product setup.The video…
